As my collection of paints has grown I’ve purchased a number of paint rack solutions such as Vallejo’s Front Module Paint Stand and Angel Giraldez’s Custom Paint Rack. They are both well constructed out of laser-cut MDF and relatively inexpensive. However, there are a number of things I don’t like about most of the laser-cut paint racks I’ve seen or used.
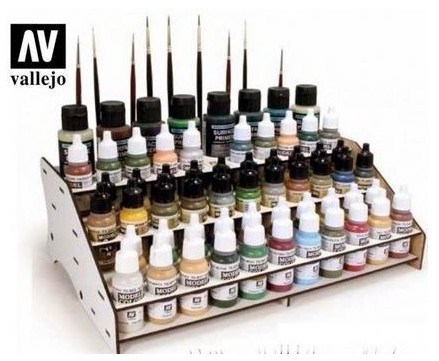
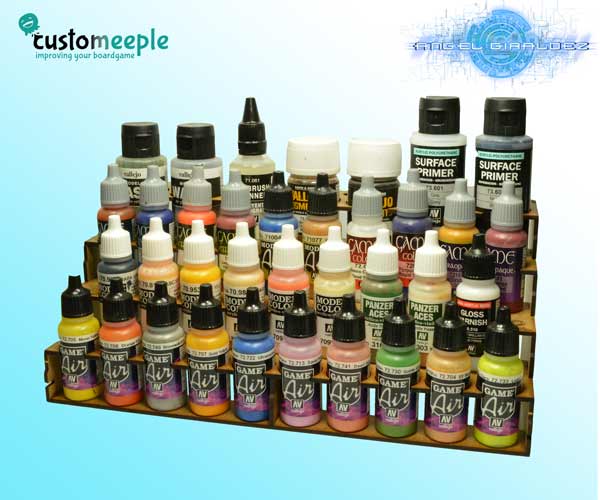
One such issue is that the cut outs for the paint bottles are often quite tight and can be fiddly to get the bottles in and out. While this makes the bottles more secure when moving them, I find that I often end up having bottles scattered around my work area since I don’t like them snagging when pulling them out or replacing them.
Another issue is that most organize the bottles into nested rows, which can often obscure bottles behind the front row. Being able to easily see the paint color or label is important for me, especially for Badger Minitaire paints which I usually find by numeric code looked up from a color chart.
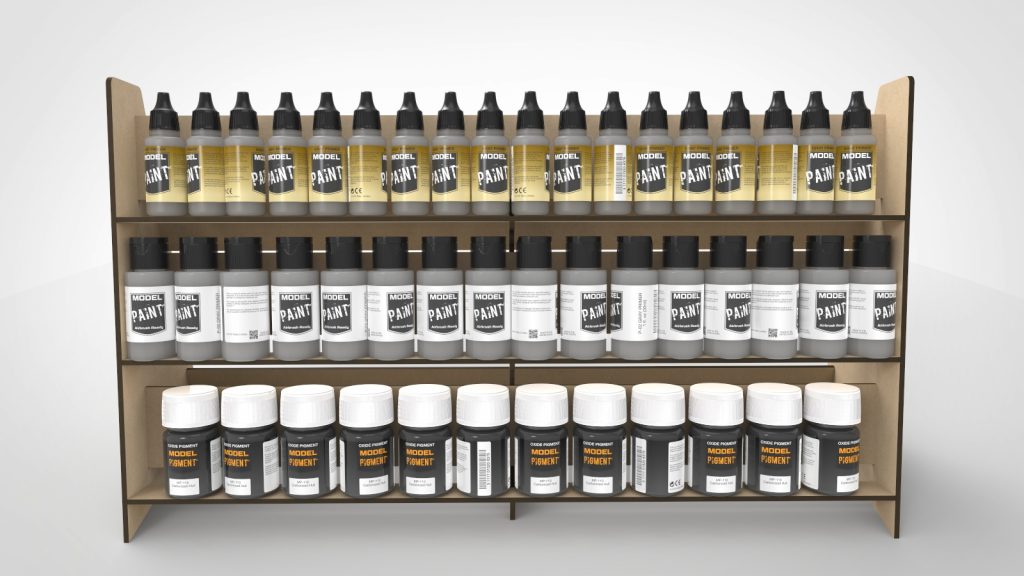
Due to the layout of my workstation, I wanted a paint rack that is more vertical in nature that would allow me to easily remove or replace paint bottles and view the labels clearly.
I looked around and found solutions such as Massive Voodoo’s Ultimate Paint Rack, and while I really like their design, I wanted something without stacked rows of paint and I don’t need the storage drawers or transportable case.
Since I have a little experience with using a Glowforge laser cutter, I decided to experiment with designing a bespoke paint rack that fulfills my requirements.
The standard Glowforge MDF material is 20″x12″ (50.8cm x 30.5cm), so this dictated the largest dimensions of any single part of whatever I’ll be designing. I also measured and modeled my most common paint bottles to ensure proper fit and scale.
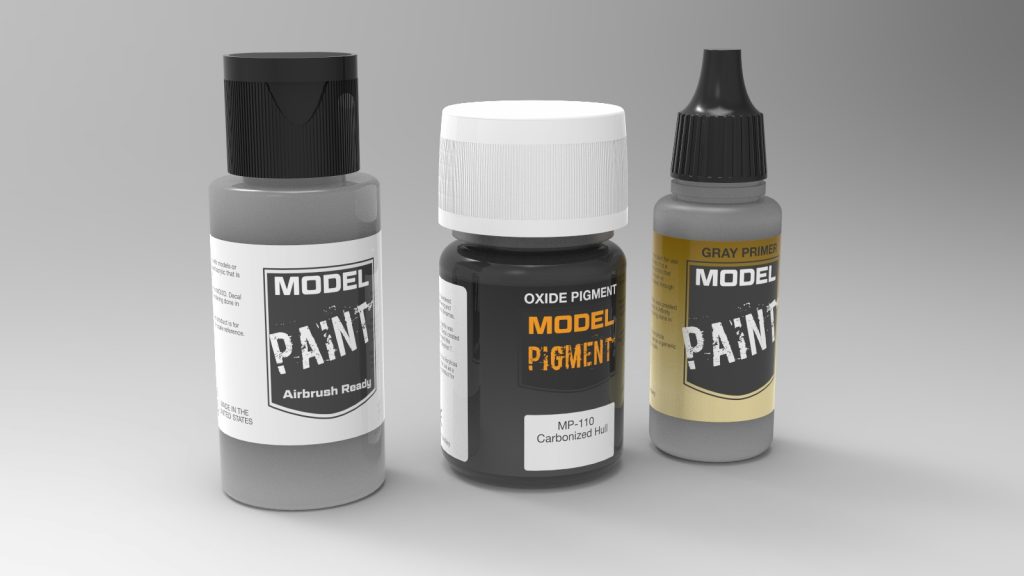
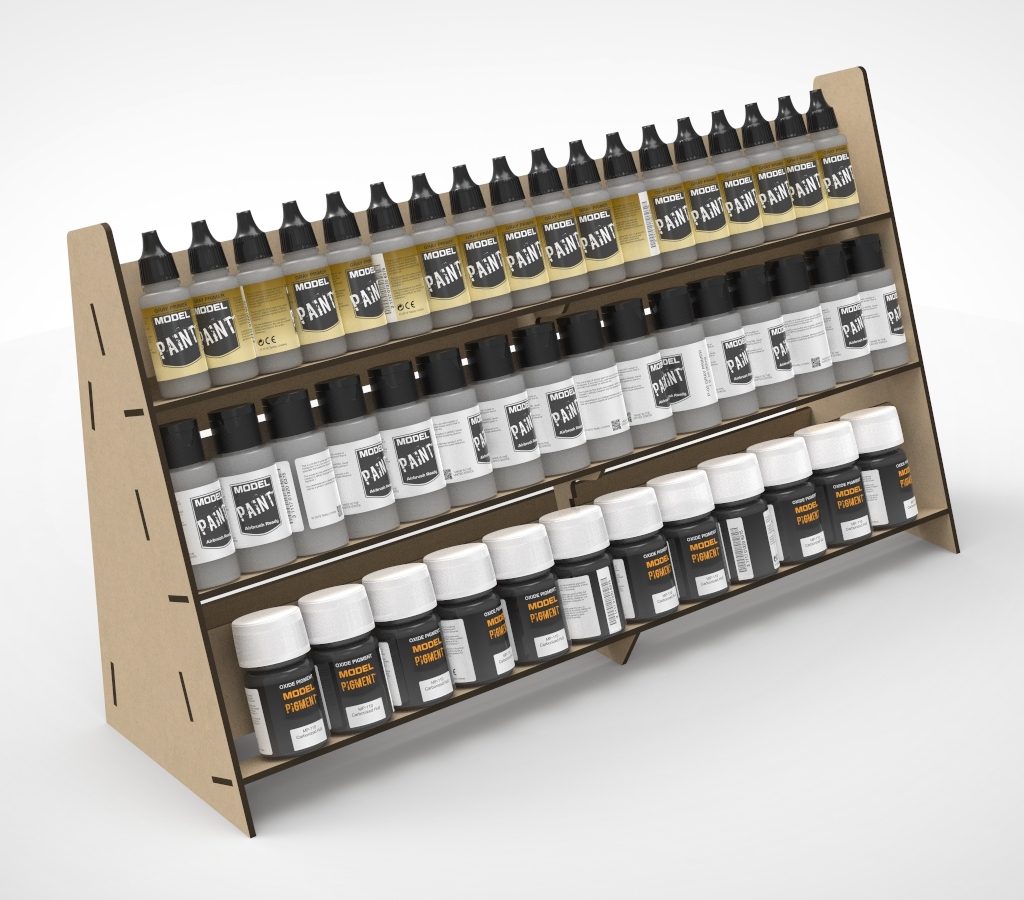
I decided that a 20° incline would be enough to keep the paints from falling out easily, while minimizing the amount of depth required for the rack. I am using a depth of 30mm for each row since this should accommodate all the paint, pigments, washes and shades that I use from different manufacturers. Vallejo dropper bottles are 25mm in diameter, Vallejo Pigment bottles are 35mm and Badger Minitaire flip top bottles are 30mm.
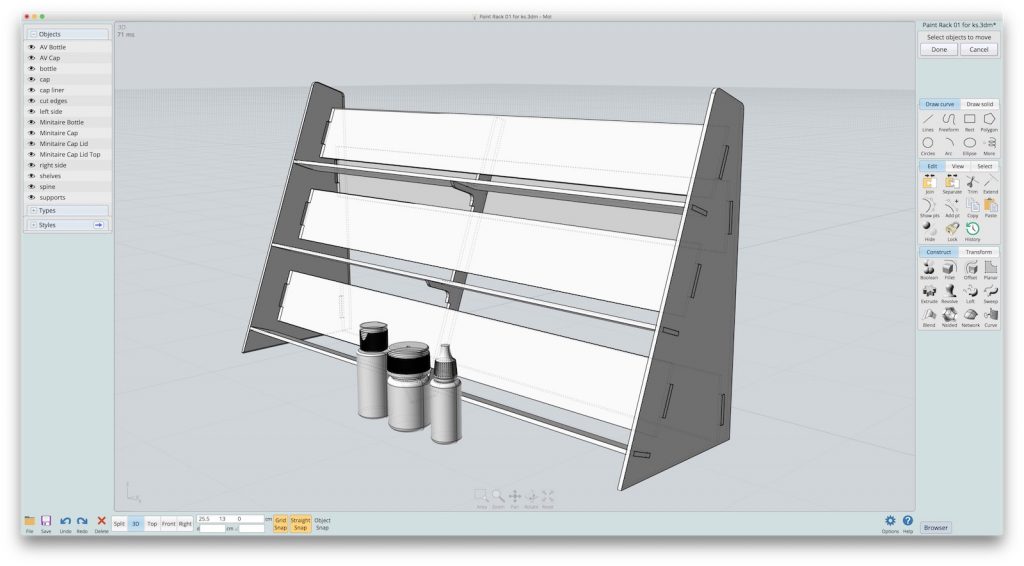
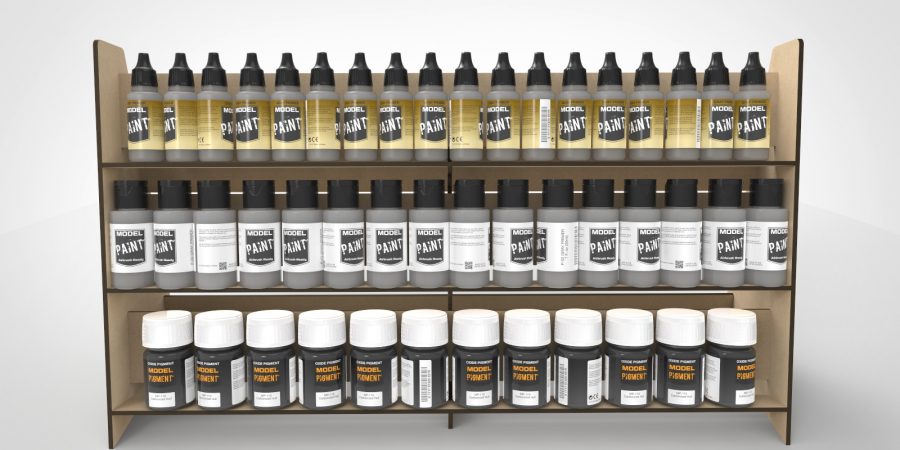
Based on these specs, the overall dimensions for the rack is 50cm wide, 30cm tall and 14cm deep. The Glowforge “Proofgrade” MDF board is specified as 1/8″ thick (3.17mm), but my previous experience shows that it’s slightly thicker, closer to 3.3mm. Hopefully, my estimates for material thickness and laser kerf will yield pieces that fit snugly using the slot and tab assembly method that is common for laser cut materials.
I’ve used my best guess as to how to design the load bearing central support to avoid sagging in the middle of the rack. I won’t know exactly how stable it will be or how well it will resist sagging until I fabricate it, assemble it and load it up with paint.
I should be able to have the pieces cut soon so that I can give an update on how well the physical version works out. For now, the renderings below show what I expect it to look like. As you can see, I went a little overboard with the level of detail for this, especially with the individualized bottle labels.
